Showing posts with label bag. Show all posts

Tuesday, 26 February 2013

Who's for coffee?

For those of you that know me you will understand how irresistable it was to buy a certain selection of prints that featured coffee..  mmmmmm...... Kona....


and what did I decide to do with them? Well, patchwork of course! I thought that using my patchwork batik bag would be a suitable pattern for this collection. I do have two other designs, but they have more colours in them and didn't look right together, so they'll be a later project.

I spent a very happy weekend cutting squares, sewing them together... all in the same fashion as my tutorial...  quilting them to wadding and then hours of fraying the edges, I much prefer this look to a straight seam, much more character, but it does take some time!


By Monday I could get going on the actual bag... by Tuesday I could add the finishing touches, like cording, charm and matching keyfob. Oh, and this time I added quilted pads on the straps, as per my daughters suggestion.

Would you like to see how it turned out? 


I love how it turned out... and to feel it, thick and quilted, it's lovely, I'll be sad to sell it really, but to Etsy it will go. On to a gothy skull bag next, as soon as the prints arrive! 


Sunday, 25 November 2012

Beautiful Babe Backpack...

It's official now, and sew I begin in earnest to create our Yule gifts for family and friends. I've been racking my brain for ages and still haven't decided on a complete list, so I've begun with one that I knew I had to make... a gorgeous little backpack for  my best friend's soon-to-be-3 daughter. Being a cutie little girl it had to be a cutie backpack so this one is made from a very tactile brushed denim in pink, with fuschia lining and accents/pockets. It's a similar design to the rucksack I've created the tutorial for in the textile how-to section... a change in size, fabric and accessories and ta-da, a unique bag for another unique person!


I do hope she likes it- well, of course she will, it's pink! I've also listed it on Etsy and Creative Stores as a basis for personalised backpacks. Great birthday presents as well as for Crimbo.
I'm also thinking about making bags and rucksacks using my own fabrics, so I've begun an experiment on Spoonflower- if you'd like to see what I mean, why not visit the collection?

Saturday, 29 September 2012

Vintage meets modern...

Well, it's certainly been a bag week, this week... yesterday I created a creamy vintage/modern rucksack with upcycled fabrics and some of my collaged textile fabric. I had some left over so made a little wallet too.


This bag is basically the same pattern and method as I've detailed in my rucksack tutorial over on my how-to's textiles. I don't use a pattern per se, I just cut to size and play, but the construction method is very simple to follow if you want to have  a go!  I'm doing a tute for the wallet over the weekend so I'll let you know when it's up and available. They make a lovely set, eh? What about making a matching personal pocket too? for all your ladies accessories... there's a tute for that over there too. Just grab some fabrics and get cutting... you'll love it!!


Tuesday, 25 September 2012

Rucksack heaven!!

Oh, I finished it today, so it's had a bit of a road-test and performed brilliantly!! It's so comfy and fun... I might just put a bit of velcro in the inside pockets though, just to stop stuff falling out if I threw the bag around- well- it will happen at some point!

Here it is finished...


I've really enjoyed making this but I'm not sure if I would be able to justify charging £70/80 for it, even though it's taken 3 whole days to make because of the work involved... we shall see, I might list one on Etsy as a "special order" and see how it goes...
The tutorial is completed over in the how-to's textiles section. Have a go... post me a pic... any questions just email me- I'll go through it with you if you're stuck! 


Monday, 24 September 2012

Rucksack in progress...

Well, today's been fairly productive... I almost got it finished- only the straps, eyelets and hoops to add. Here's how it looks so far...


I'm just typing up the tutorial so far, that will be added to the how-to's textiles page very soon, and tomorrow I'll have my bag completely finished.
As you'll see by the tutorial I tend to make things up as I go along- you really don't need a pattern if you understand the construction rules. If you want to follow the tutorial I began with 1m of 45cm fabric and quilted 60 5" squares for the main piece. I cut the bag the whole length of the piece at 16 1/2" deep. That should give you a gauge for the other pieces. The straps are the whole length and 4 1/2" wide. Pockets, flap and all the loops can be whatever size you like depending on how much fabric you have left to play with. 
Although I've reiterated this in the tutorial here is a basic list of pieces you will need from 2 1m pieces;

2x 36 x 16 1/2" main body
2x  14 x 5" base
2x 36 x 4 1/2" straps
2x 5 x 9" pockets or to size
2x 6 x 2" strap loops
2x 5 x 5" strap reinforcements
2x 4 x 2 1/2" loops

These should easily fit into 2 m of fabric- the straps, loops and reinforcements can be from one piece or both, whatever you decide.

Check back tomorrow for the completed bag...


Sunday, 23 September 2012

More bags in the making....

This week I have been alternating cleaning the mess from the builders with sewing a couple of projects. I can't clean it all in one go- that plaster dust gets everywhere and it doesn't matter how often you wash down, it still reappears the next day.
I have made another rucksack, which has turned out so utterly sweet, but I can't post a pic yet because it is a pressy for someone who will see it if I post- so I'll post the pic in a week or so once I know it's arrived safely. All I will say is that it is beautifully cream, with LOTS of pockets and a piece of my collaged textile as the flap... 
In the meantime- for those colour junkies like me I've also been prepping for my new bag... I wanted funky, colourful, textile this time- my felted satchel has served me well for a few years now, but it's time for a change!
I love batik so I have quilted squares together, with the edges to the right side, then sewn ribbon down the seams to strengthen them...

My wrong side...
The right side before the ribbons...

I love the frayed edges, it's such a shame to hide them so I'm making a feature of them. I've backed this with a pre-quilted fabric also donated from my mum's super-stash. I haven't decided on the exact pattern yet, but I think I'll make another rucksack... I shall be photoing and writing it up as I go so there will be a tutorial in the how-to's textiles section in a while. Tommorrow I'll cut out and prep all the pockets, etc. so keep popping back to see how it develops...


Friday, 14 September 2012

RETRO RUCKSACK

I promised my daughter, quite some time ago, that I would make her a school bag using some of the tonnage of 70's/80's material that my mum gave me when she cleared out her loft. As she was a dressmaker/teacher she stashed so much fabric and notions away, but over the years she has got rid of most of it.... the last donation includes so many gorgeous, heavy woven wool mixes and trouser weight fabrics that it's going to take me years to find a use for it all!!
I've separated it all into "not likely", "quite likely", "almost guaranteed" and "most definately to use" spacesaver bags. The most definately has alot of shirt weight cottons and polycottons in a variety of colours and patterns... so much choice, so little time!!
When I was 12ish mum made me a lovely bodiced summer dress with ribbon corsetry down the front and big frothy layers in coordinating dark cottons- imagine my suprise when I opened one of the bags to find another 3 meters of each stashed away! Mum never bought in halves, obviously- enough for a garment, then double it, lol! 


I don't use patterns much, and certainly not for a bag, but I liked this so much I am going to make myself a paper template because I'm going to use more of the fabrics to make some others. This one has a heavy plastic lining to make it waterproof, the inside is the stripy fabric with a couple of little pockets and loops for phones etc.
At first my daughter shrieked in horror that it was far too big, but I planned for it to hold 4 or 5 A4 folders and text books plus typical teenage junk, otherwise what's the point if you need another bag too? Once she saw it gathered up and the flap tied over it suddenly looked cute and adorable! 
I've started mine now- I made my felt satchel in 2009 and much as I love it, to me it's old and I'm desperate for a new bag, so I'm getting out my batik squares and stitching them together for one meter of fabric, and I'm going to print onto a purple marbly batik for the contrast fabric...I'll take pics this time and set a tutorial for it afterwards.
So keep and eye out- I shall be making a couple for Etsy at around £40, and if you have any suggestions what to make with the wool mixes I'd be interested to hear from you... maybe I should try it on Ebay?


Saturday, 18 August 2012

Etsy getsy....

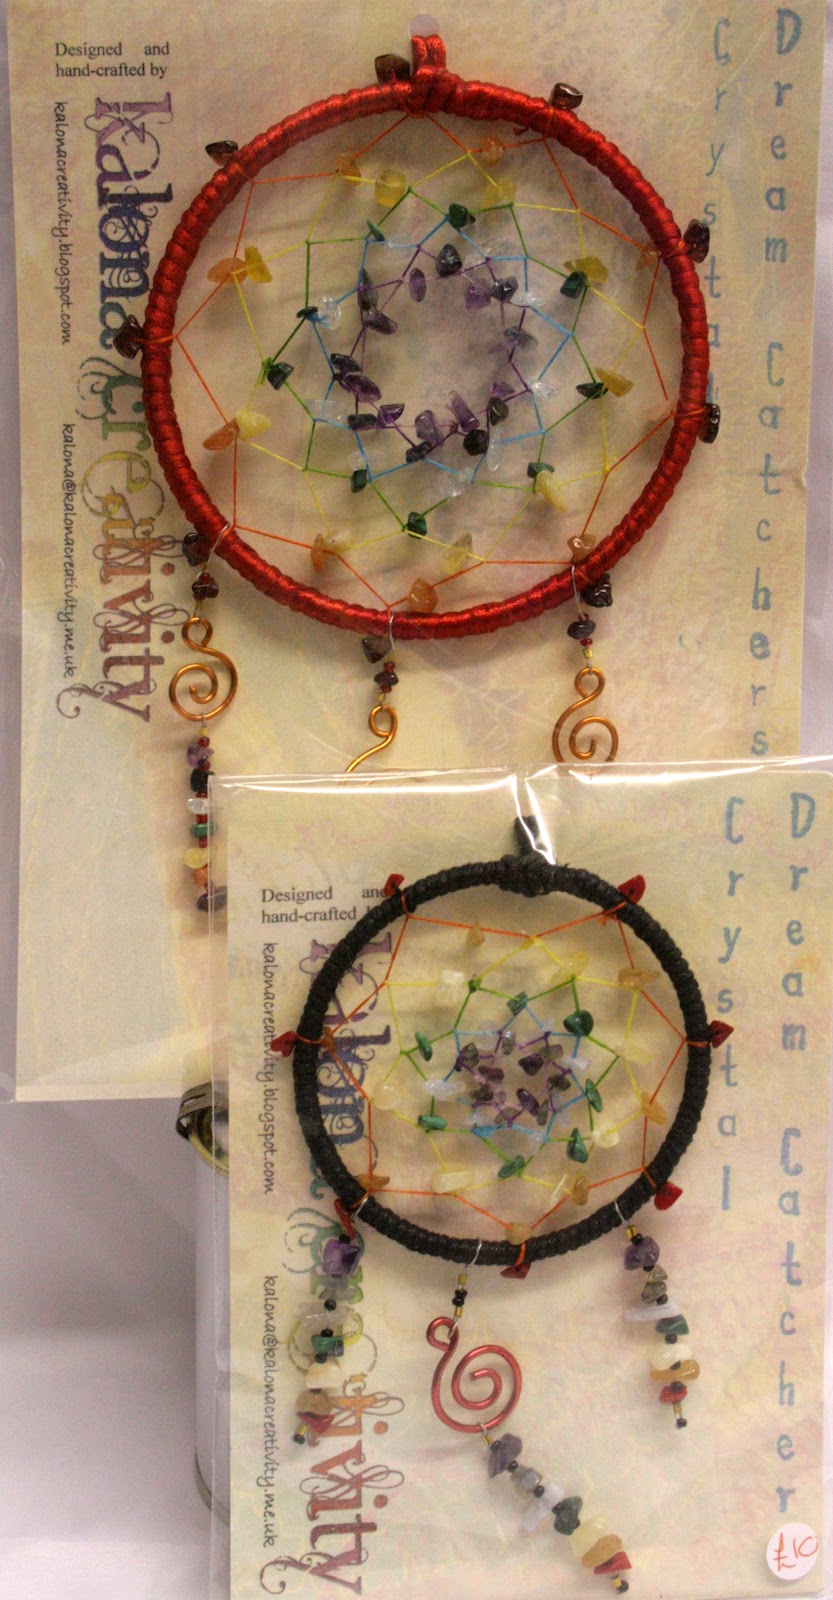
Well, I'm not normally one for shameless self-promotion, given I'm a typical self-depracating artist, but as I've spent so much time redoing my studio and repackaging my work I thought I'd better get off my bum and list them on Etsy, especially as I opened the account a year ago but have been too nervous to get going...it's not like selling at fairs and events where you can talk to people and help them choose what's best- especially with my crystal therapy pieces. 


I haven't added much yet- it takes so long and I'm not sure the pics are good enough, so I'd appreciate some feedback if you wouldn't mind visiting my Etsy shop and let me know if there's something I can do better... and I've also set up a coupon if you feel like treating yourself to something funky and functional... type in CREATIVITY10 in the coupon section and it'll take 10% off your purchase.

I shall be adding lots of things over the next month, now I'm getting the hang of it, so look out for my artwork, textiles, journals and chainmaille.... 

And don't forget I prefer to make crystal pieces to order, that way I can choose crystals to work in the areas that you need to focus on, so if you fancy a really personal healing piece of jewellery or accessory just email me at kalona@kalonacreativity.co.uk. While I appreciate alot of people value therapy sessions, I prefer to think that something specifically created will be a longer term aid because it will always be with you.


Have I gone too far in my shameless self- promotion?


Tuesday, 24 April 2012

Promarker storage

I've been looking for a reasonable storage solution for my increasing collection of Promarkers- they're quite chunky so normal pen cases just aren't big enough, and the nice zip up cases only hold 24 or 45 pens...
I don't keep them on my desk as I often work in a variety of places and want them to hand. A rigid stand wasn't appropriate either...
I love recycling fabrics and I happen to have a few books of upholstery fabric samples so I made up a roll to slip the pens into and a bag to keep them together. Perfect!

 8 rainbow sections to keep colours in groups of 10... shame I thought of brown after the fact as I have 9 of those so I've put them in the violet section for the time being... I also coloured a sticker for each pen so I could see them all from above.


Rolled and secured with ribbon. Even like this I can see where each colour is and replace it to keep them orderly.

A zipped bag using the remnants from the rolls. I've made it a bit bigger to allow for more pens, and lined with mountboard for stability. I shall add a small bag for spare lids/fine nibs etc.


Tuesday, 15 November 2011

Heart Scent Pouch...

It's coming up to Christmas, and I'm doing my best this year to not actually spend a penny on it!! (Directly, anyway, I may need certain supplies to complete my projects!) Over on Milliande's Palma has begun a swap for an International Goodies Box  What a great idea!!! There's a list of items to choose from to create, and I'm working my way through...the journal, purse/pocket and now scented sachet are all done...
Here's the scent sachet, or my interpretation!! Instructions are over in the how-to's textiles section I've made bags, cushions, wallets, and even my wedding ring pillow in a similar way, it's so versatile and fun, give it a go!! I always show the quick and easy way, minimum pinning, minimum fuss- my mum would go mad if she saw- she was a dressmaker/tailoring teacher, very by the book! Stood me in good stead though- I know the right way, so I know I can work out the shortcuts too!


 So here it is, a cute little woven ribbon scented pouch, plumped up with lavender heads from my garden. I do hope my box doesn't have to go to Australia with all their customs restrictions on seeds/wood and flowers, etc. I'd hate to have to empty it....

.

Saturday, 12 November 2011

Little Pocket Pouches

It's coming up for Christmas and one of my favourite stocking fillers is a little pocket pouch...useful to keep all manner of goodies together; make-up, pens, keys, jewellery, or my fave- certain female products that you have to carry round with you. It's all so much more discreet if they're tucked neatly into a pouch.

I've put a tutorial over in the  how-to textiles page, if you feel like having a go! If you use scraps of material it will only take 15 minutes...no time at all for such a funky, useful little pouch.

Personal Pockets, recycled sheets, school shirt and baby wipes


Don't forget to send a pic of your creation for the gallery!! Have fun- go mad- bead it up after you've turned it the right way!!

There is now a pic of Mary's creation in the Friends' Gallery, take a look, they are super!!!
.
Related Posts Plugin for WordPress, Blogger...